Your File Manager allows you to both compress (zip) and uncompress (unzip) files.
How to Compress Files
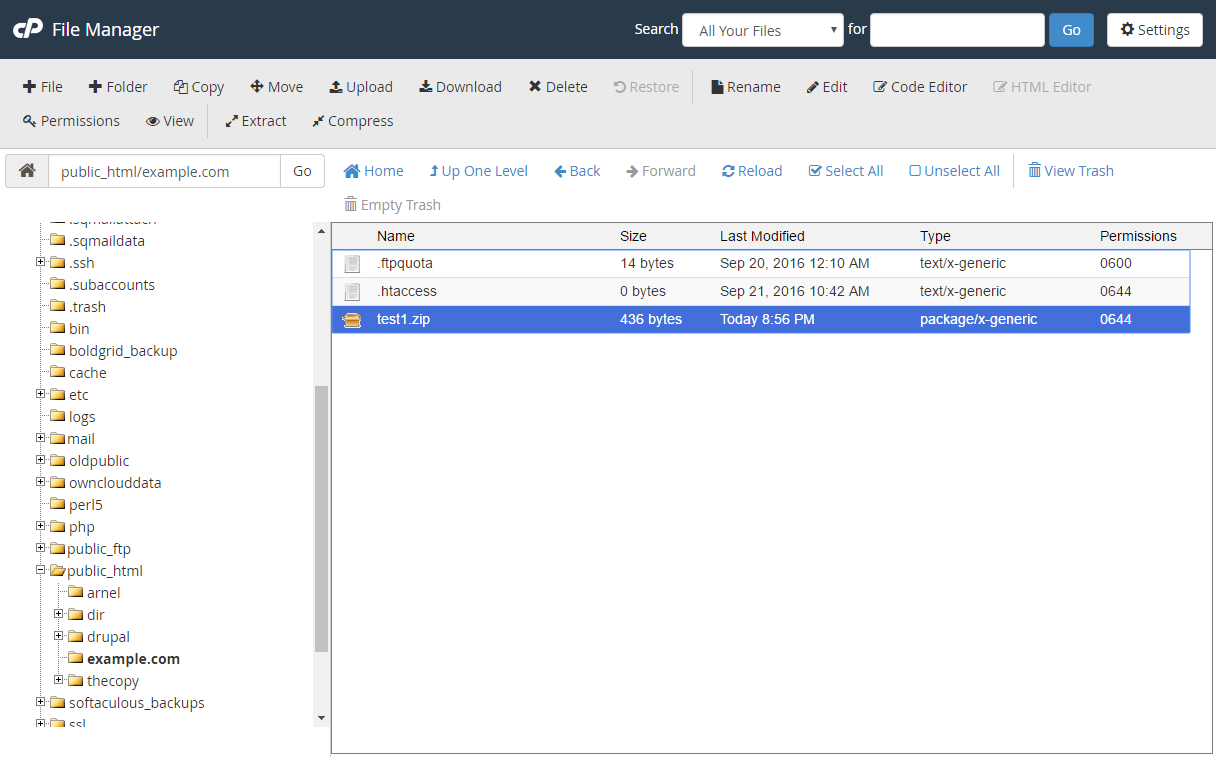
To access the File Manager, go to the control panel of your web hosting account and find the File Manager icon. Once you have located it, click on it to launch the File Manager.
Next, navigate to the folder where the files you want to compress are located. You can do this by using the directory tree on the left-hand side of the page.
While holding down the Ctrl key, click on each file that you would like to include in the compressed file. This will highlight the files that you have selected.
After selecting the files, click on the “Compress” button located at the top right of the page.
On the “Compress” page, you can choose which type of compression you would like to use, such as zip or tar. Give a name to the compressed file and then click on the “Compress File(s)” button to begin the compression process.
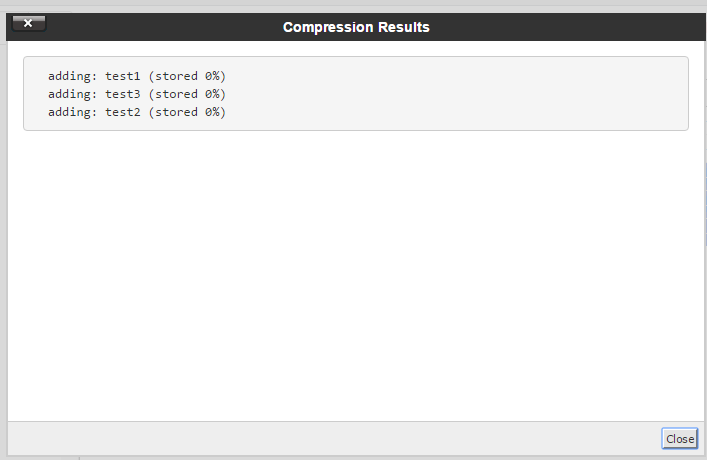
Once the compression is complete, you will see a success page that lists the compressed files. This page will be similar to the screenshot below:
How to Uncompress Files
- Go to the File Manager.
- Navigate to the folder location for the file you want to uncompress.
- Right-click on the file and choose Extract
- On the “Extract” page, choose the directory you would like to extract the files to, and click Extract File(s).
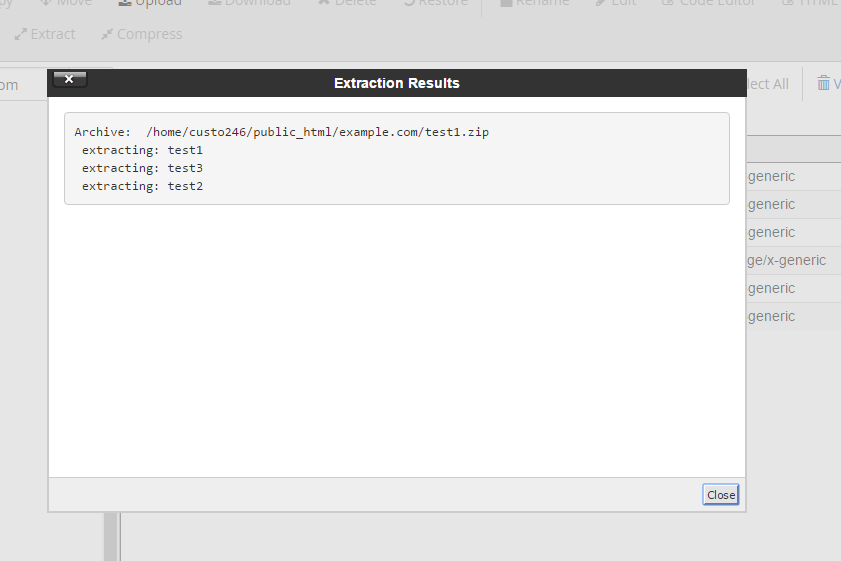
- When the file has been successfully extracted, you’ll see a success page that lists the extracted files similar to the below screenshot: