In today’s digital age, it’s essential to prioritize account security to prevent hacking attempts, even with a randomly generated strong password. Two Factor Authentication (2FA) provides an additional layer of protection to access your cPanel account. This guide will explain how to set up, configure, and use the Two Step Authentication feature available in Web Host Manager (WHM). Please note that this option must first be enabled in WHM before it can be activated in your cPanel account.
To use Two Factor Authentication, you need to have root access to your server. Additionally, you must have the Google Authentication app installed on your mobile device.
- Log into your WHM as the root user.
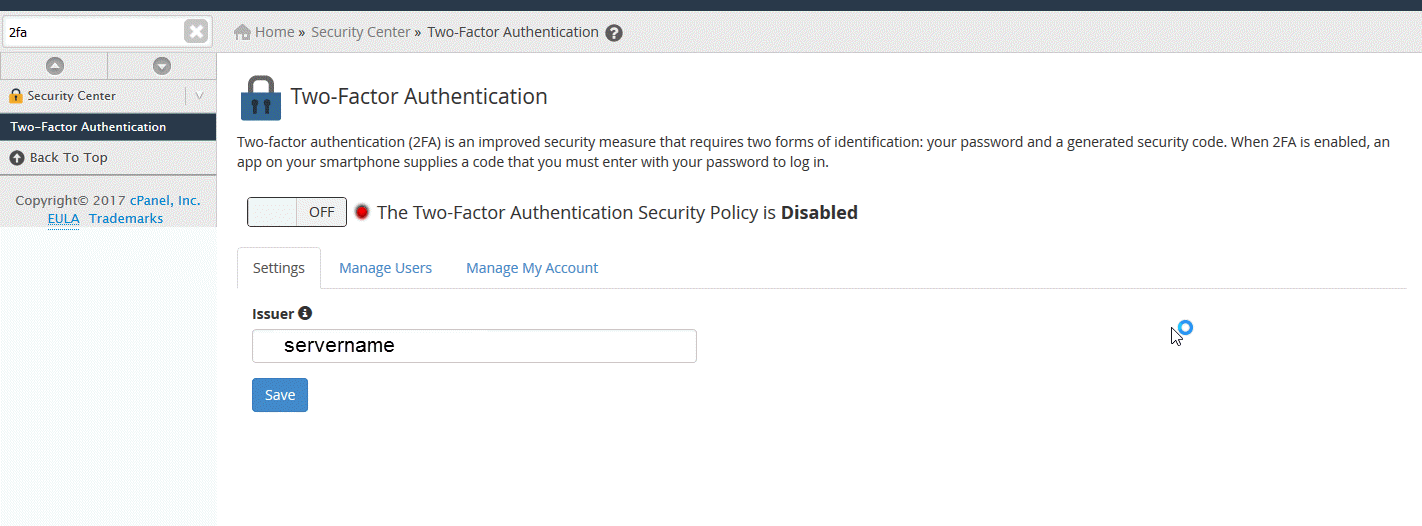
- Use the search bar to find Two-Factor Authentication. You can also search for “2fa” for short.
- Click the on and off button to enable Two-Factor Authentication Security Policy.
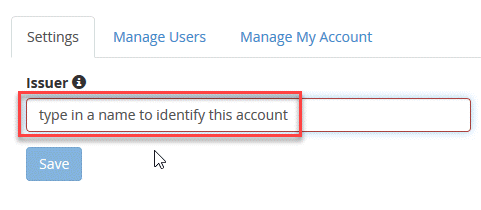
- Next you will need to click on Settings in order to give name to the issuer for two-factor authentication. By default, it is set to your server name. This name is used to identify the code used within the Google Authenticator app. If you are using the app for several authentications, this name distinguishes your server so that you know what code to use when you need to login to cPanel.
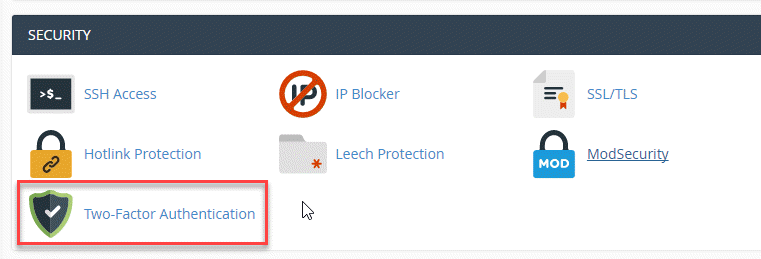
To enable two-factor authentication for a cPanel account, you must first log in to the desired cPanel account. Next, navigate to the Security section and click on the Two-Factor Authentication icon. Follow the steps outlined below to activate two-factor authentication for the account:
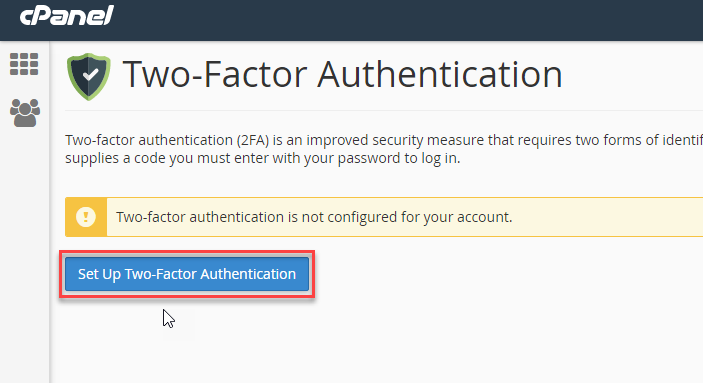
It’s important to note that cPanel’s Two-Factor authentication feature utilizes the Google Authentication app. Therefore, you must ensure that the app is installed and functioning properly on your mobile device before proceeding. Additionally, it’s worth noting that with two-factor authentication enabled, the mobile device associated with the Google Authentication app will be required to log in to the cPanel account.
- Click on the Two-Factor Authentication icon in cPanel.
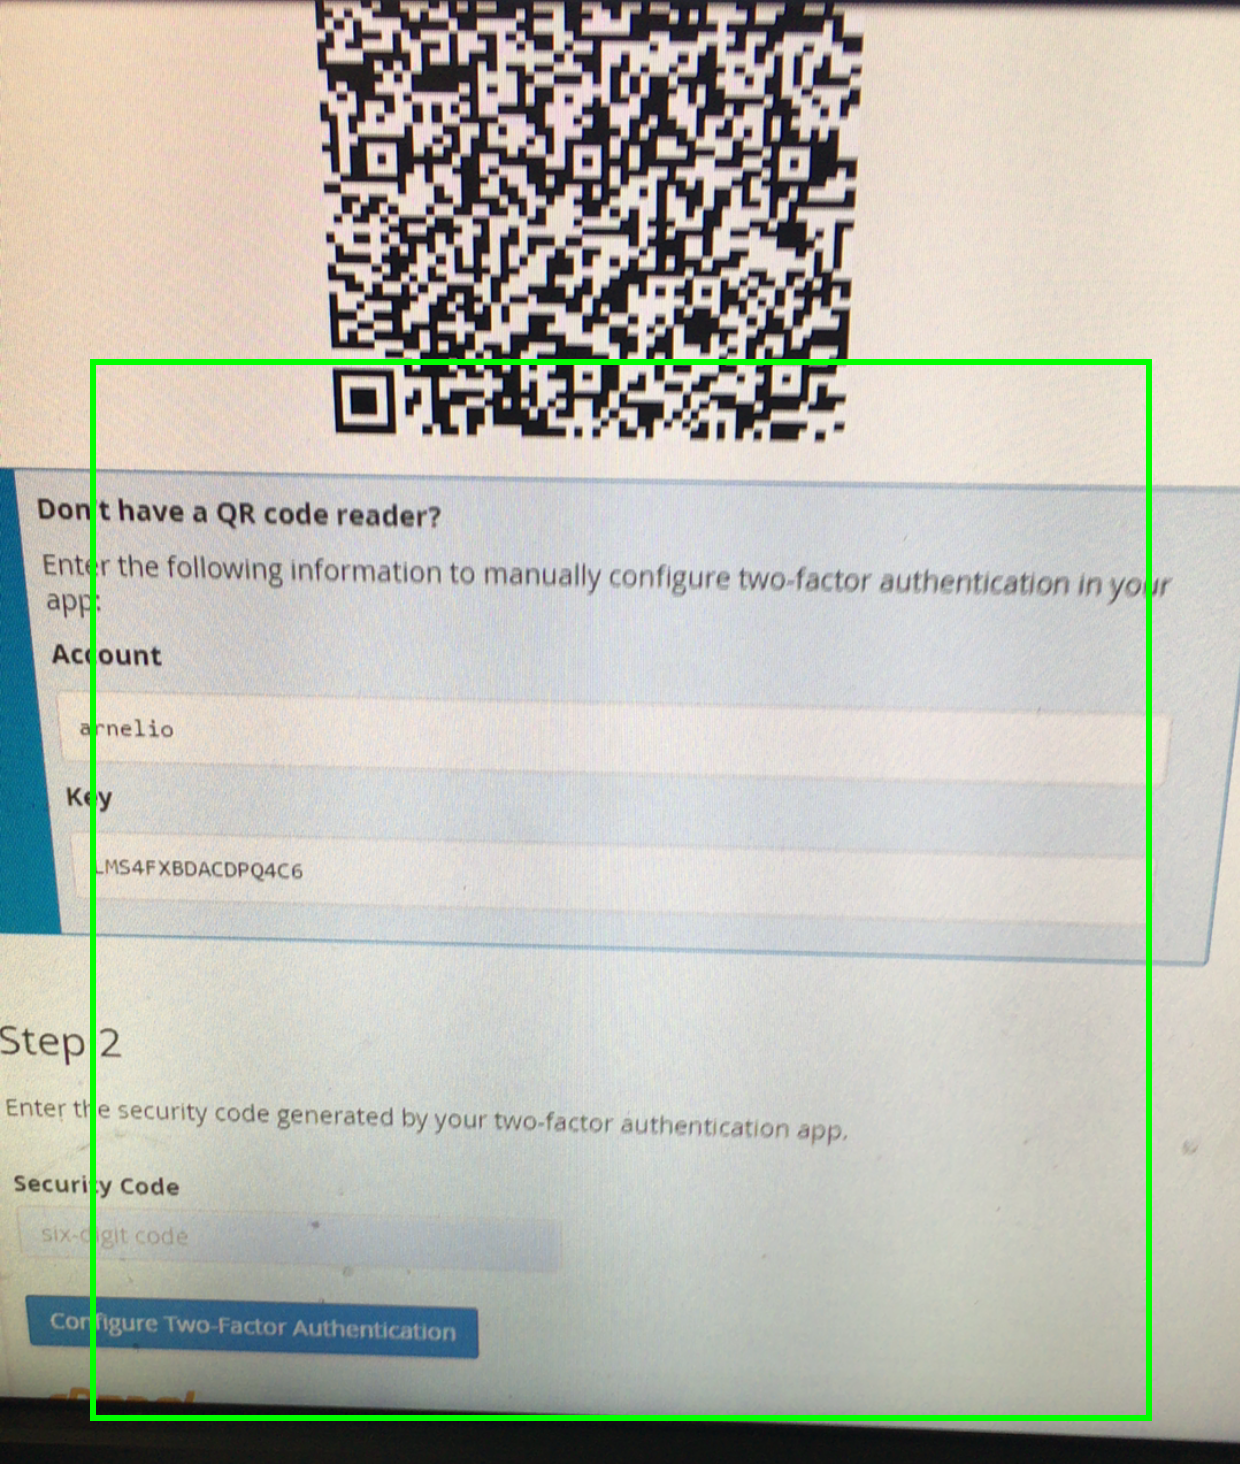
- Click on the button that is labeled Configure Two-Factor Authentication. You will see a QR code appear on the screen. You will need your mobile device with the Google Authentication app for next 2 steps. The Google Authentication application uses the camera on your mobile device in order to view the QR code. If your device cannot read the QR code, then you can use the manual code provided below the QR code. Click on Manual entry in order to enter the provided key.
- If you can scan the QR code with your device, then click on Scan barcode.
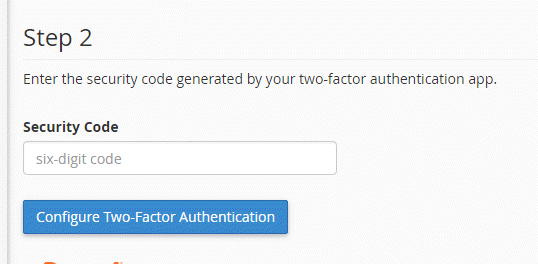
- Once you scan the QR code you will get a code that will only show for a short period of time. Go down the screen to Step 2 and type in the 6-digit code.
After successfully entering the code, you will receive a confirmation message stating “Success: Two-factor authentication is now configured on your account.” From this point on, when you log out of the cPanel account, you will need to enter your regular cPanel password and then use the Google Authentication app to provide the code required to log in to cPanel, as shown in the screenshot below:
[Insert screenshot of cPanel login page with Google Authenticator code field]
