Our VPS and Dedicated Hosting plans offer an automated feature to perform cPanel backups. This feature enables you to schedule and save regular backups of your accounts either to your server or an external location such as Amazon, Google Drive, or FTP. In this tutorial, we will guide you on how to set up cPanel backups in WHM.
It’s important to note that utilizing server space is necessary if you opt to save backups on the server. However, we advise you to download and store backups in an external drive or local computer to minimize disk space usage. This practice also ensures backup safety in case of server malfunctions since they’re available in another location. Additionally, if you frequently perform backups and have multiple cPanel users hosted, it may be advantageous to disable individual cPanel backups.
You can always purchase our auto Backup Manager for easier backup management.
Note: You will need root access to complete this guide.
Configuring cPanel Backups
- Log into WHM as the “root” user.
- Type ‘backup’ in the search field, then click on the Backup Configuration option the Backup.

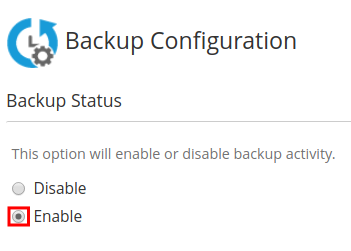
- In the Backup Status section click the Enable option. You will then have additional options available for configuring your backups.
- Set your Global Settings.
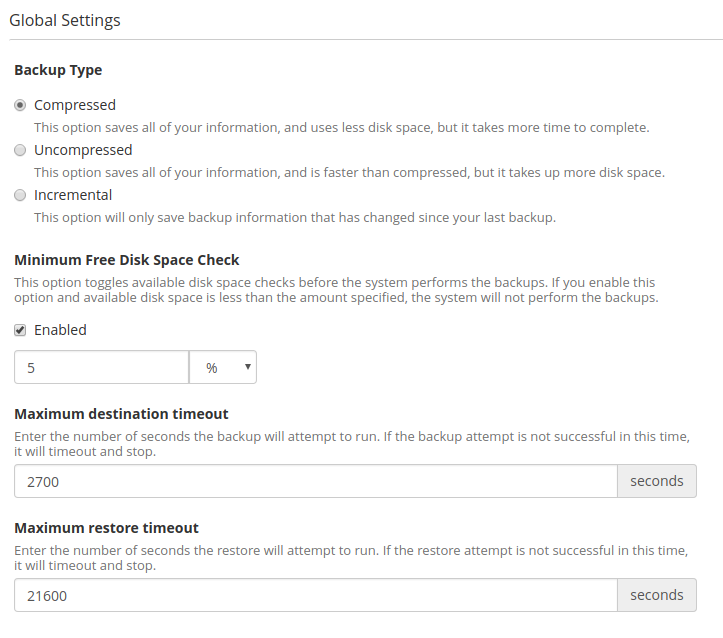
- Backup TypeChoose one of the options to define how the server will store the backup. CompressesSaves all information in compressed file. This takes more time but uses less disk space.UncompressedSaves all information in an uncompressed format. This uses more disk space but is faster.IncrementalStores only one uncompressed file. It saves only updated information and replaces that. This limits the restoration settings but is faster and uses the least disk space.Minimum Free Disk Space CheckYou can set a disk space check here in Percentages (%) or Megabytes (MB). If you have less than the alloted space the backup will not run. Maximum destination timeoutThe amount of time a backup process allows to upload a single backup file.Maximum restore timeoutThe amount of time a backup process allows to upload a restore a backup file.
- Set your Scheduling and Retention preferences.
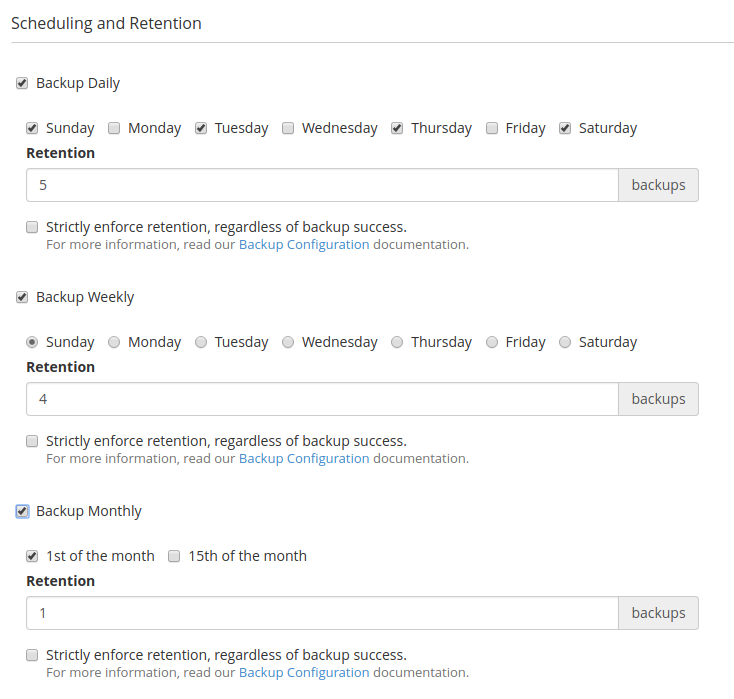
- Backup DailyCreates a new backup on each selected day. You must configure the days and the number of retained backups (1-9999).Backup WeeklyCreates a new weekly backup on the day selected. You must configure the days and the number of retained backups (1-9999).Backup MonthlyCreates a new weekly backup on the day selected. You must configure the days and the number of retained backups (1-9999).
- Set your Files preferences.
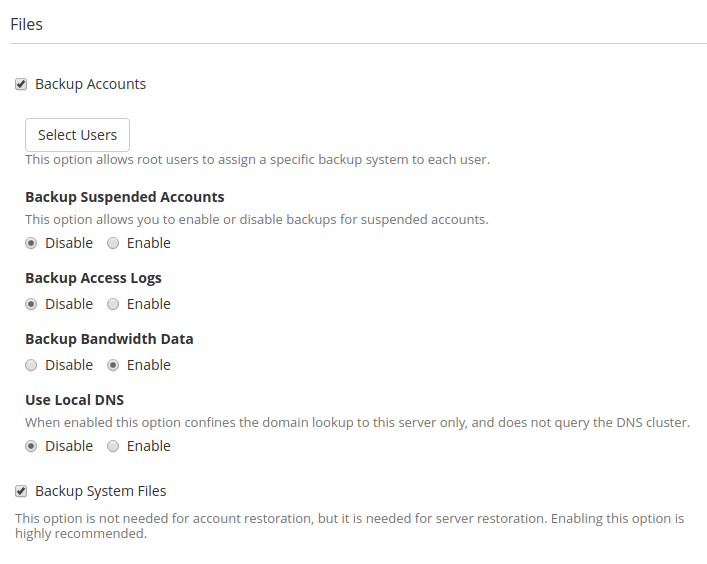
- Backup AccountsSelect this box to enable user accounts to be backed up. From there you can need to configure the following settings. Select UsersAllows you to select specific users to back up. Backup Suspended AccountsChoose if you want to backup Suspended Accounts by enabling or disabling this option.Backup Access LogsChoose if you want to enable or disable backups for Access Logs. Backup Bandwidth DataEnabling this will backup the bandwidth data from your server. Use Local DNSAccording to cPanel “When enabled this option confines the domain lookup to this server only, and does not query the DNS cluster.“Backup System FilesSelect this box if you wish to back up system files. This is for server restoration and not for account restoration. It is highly recommended to enable this setting.
- Set your Database backup settings.
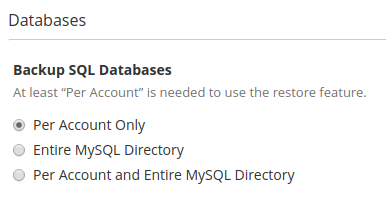
- Per Account OnlyBack up the databases for each account using the mysqldump utility. Entire MySQL DirectoryBack up all of the databases on the server by backing up the /var/lib/mysql/ directory.Per Account and Entire MySQL DirectoryPerforms backups of all databases in each account and all databases on your server.
- Configure your Backup Directory.
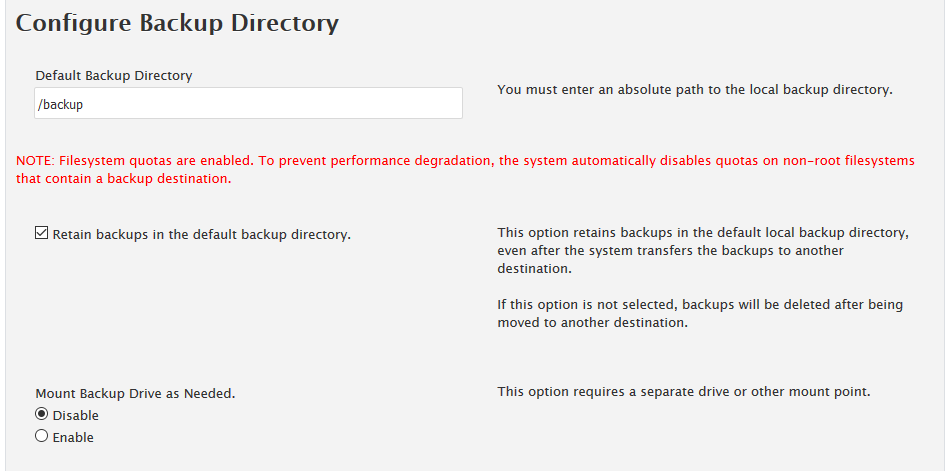 Default Backup Directory. Set to /backup/ by default, you can change it by entering the absolute path to your preferred directory location. Retain backups in the default backup directory. If selected, keeps a copy of the backup in the backup directory even after transferring the backup to another destination. If not selected, the copy will be deleted after the transfer. Mount Backup Drive as Needed. Select the Enable button to mount a backup drive. The server will check /etc/fstab/em> for another mount point. If disabled (default) the server will not check.
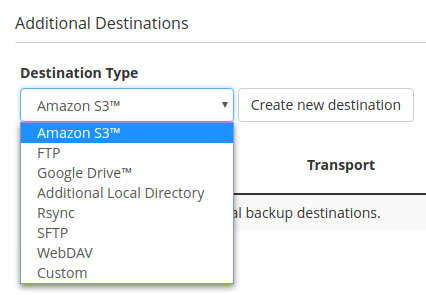
 - Set up your Additional Destinations if desired, each destination has its own setup configuration. Options are Amazon S3, FTP, Google Drive, Additional Local Directory, Rsync, SFTP, WebDAV, and Custom.
- Click the Save Configuration button.
How to Run Backup Via Command Line (SSH)
Experienced users will know that WHM allows you to schedule cPanel backups and set storage specifications. But if you wanted to run manual backup scripts from the command line? That’s what this section is about.
In order to run the cPanel backup script you will need to log in as the root user, and run this script:
/usr/local/cpanel/bin/backup
To see the background processes as they occur, run the command with the appended option:
/usr/local/cpanel/bin/backup --debug
Be sure to check out related resources from the support center:
- Complete guide to cPanel backups
- cPanel education channel