This guide will provide an introduction to phpMyAdmin, which is a web-based client for managing MySQL databases. phpMyAdmin offers a wide range of tools and features, but this article will focus on covering only the basics.
How to log into phpMyAdmin
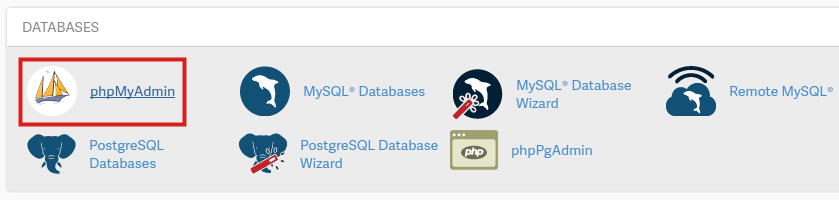
- Log into your cPanel
- Click the phpMyAdmin icon under the “Databases” heading. You will then be logged into phpMyAdmin. It will look like this:
What am I looking at when I log into phpMyAdmin?
Upon logging into phpMyAdmin, you will see a significant amount of information displayed. For most simple tasks, you can select a database from the left-hand menu (as shown in the screenshot below) and proceed to manage that specific database.
In addition to the list of databases on the left-hand side, the middle and right-hand side of the page displays server details and configuration settings.
Selecting a Database
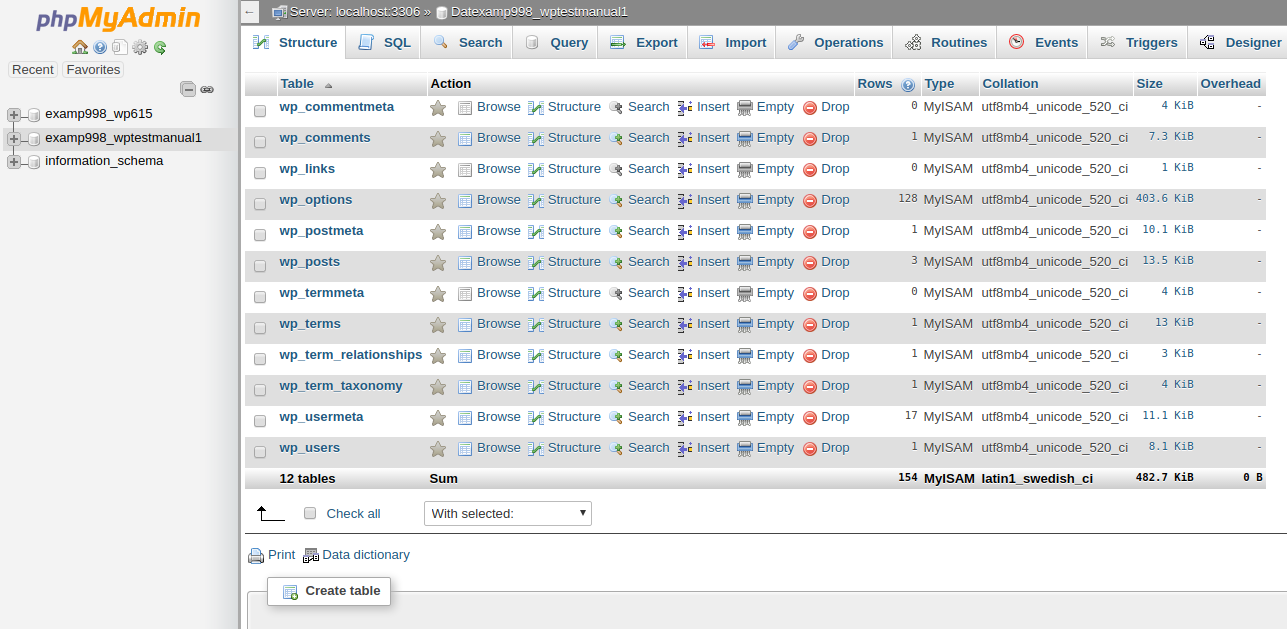
By clicking on a specific database from the left-hand menu, additional information related to that database will be displayed:
The left-hand menu will now display a list of all the tables within the selected database. If you click on any of the tables, you can view and manage the data contained within them.
In the top menu, you’ll see various options for the database you’re working with, such as:
- Structure
- SQL
- Search
- Query
- Export
- Import
- Operations
Giving Developers phpMyAdmin Access
It is worth noting that there may be instances where you need to grant a web developer access to phpMyAdmin. Rather than providing them with your cPanel login credentials (which is not a secure approach), you can set up a separate installation of phpMyAdmin that they can access without requiring access to cPanel. For further assistance with this, please seek additional guidance.