ModSecurity is software that comes packaged with cPanel and is used for Apache servers. It helps in protecting your website against brute force attacks and is enabled by default on all new accounts. ModSecurity should generally remain activated, but in some circumstances such as when dealing with a WordPress admin lockdown caused by brute force attacks, it may be necessary to disable it temporarily. These are the steps to disable ModSecurity on cPanel, which apply to the latest cPanel versions (from version 82).
Previously, it was possible for admins to whitelist specific IP addresses using some versions of ModSecurity. However, this feature is no longer supported due to security and performance concerns.
Disable ModSecurity for Individual Domains
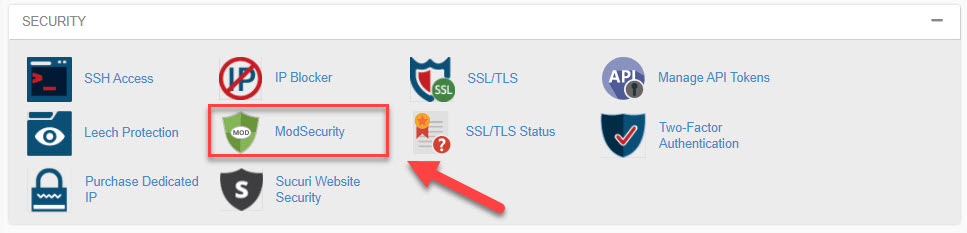
- Log into cPanel.
- Choose ModSecurity listed under Security.
- Select the domain you are working with and switch ModSecurity from On to Off.
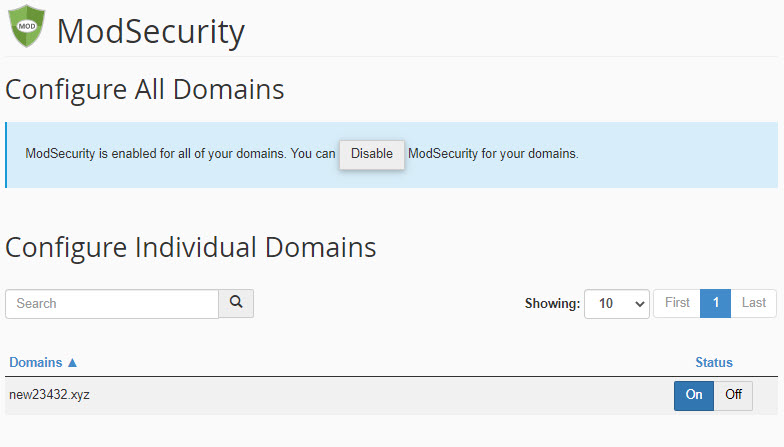
- Wait for the pop-up telling you that ModSecurity has been disabled.
- Troubleshoot the issue that you are having.
- Return and reactivate ModSecurity immediately after solving the issue you are experiencing. If you stop troubleshooting and need to wait before continuing, be sure to reactivate ModSecurity.

Note: Do not leave ModSecurity disabled any longer than necessary.