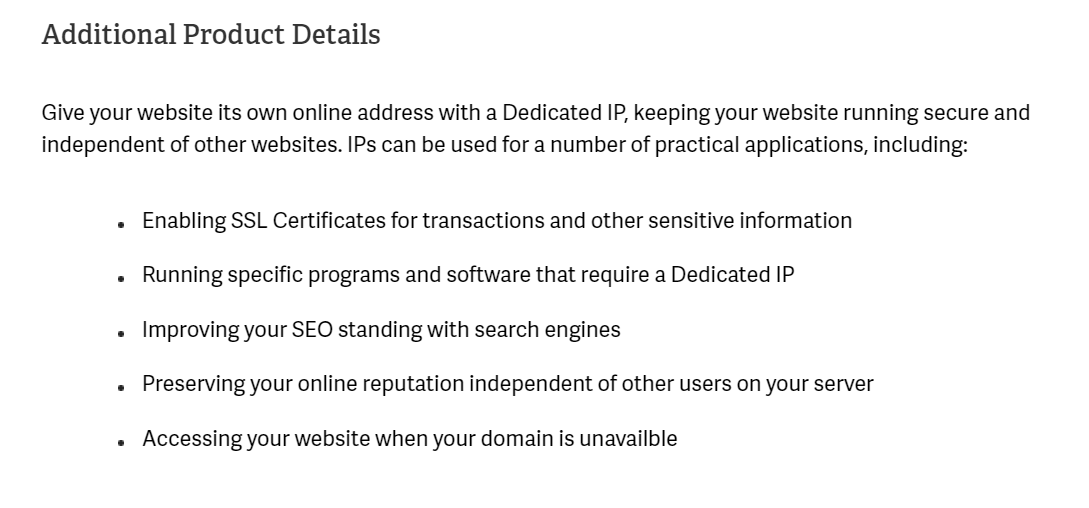
This article explains how to obtain additional IP addresses. When signing up for a shared account, such as Business Class Hosting, the account will share the same “Main” IP address as other sites hosted on the server. Similarly, Reseller, Dedicated, and VPS servers also have a single “Main” IP address set up on the server.
Sell your own brand of reliable and feature-rich web hosting by subscribing to InMotion’s Reseller Hosting solutions.
Is My IP Address Shared or Dedicated?
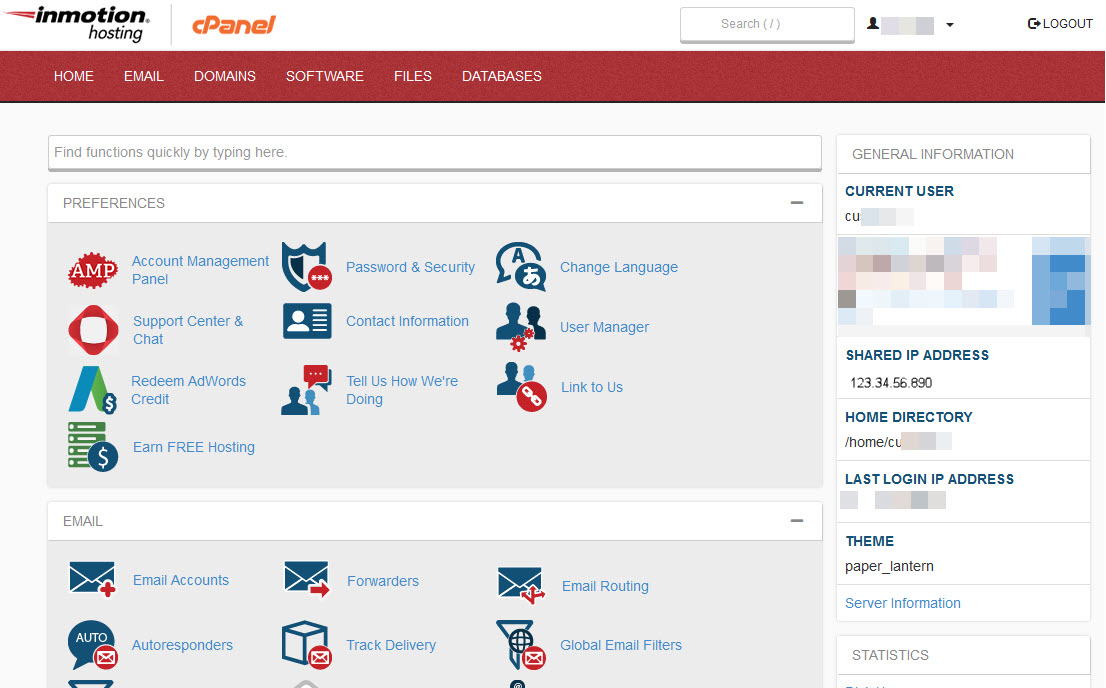
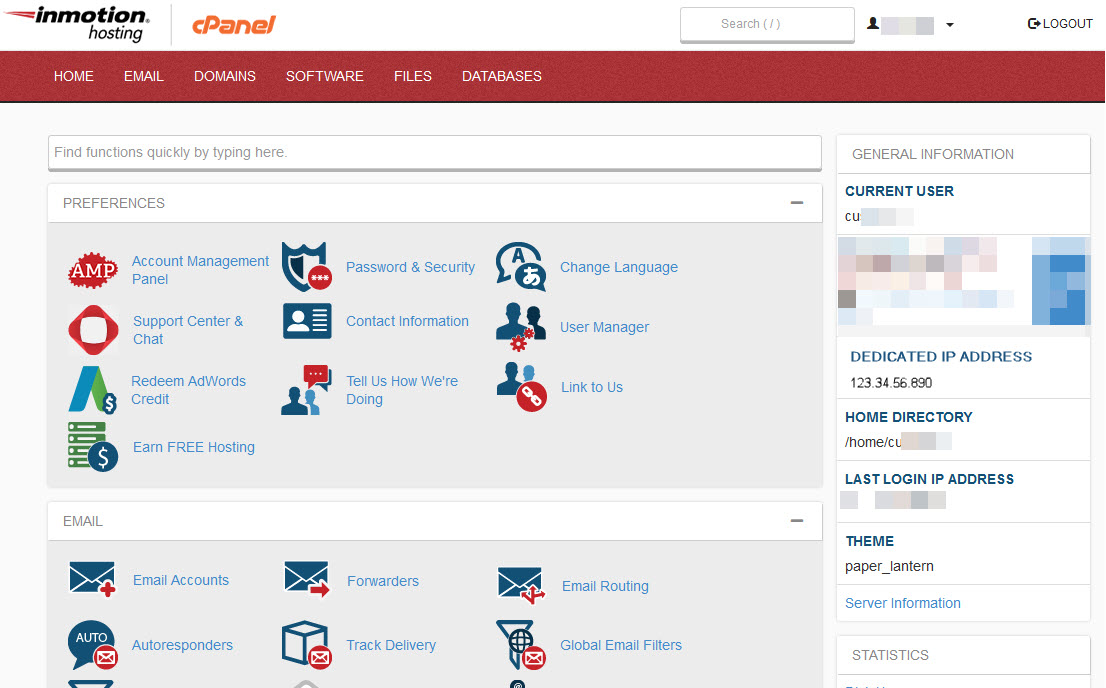
The “Main” server IP address is commonly known as a “Shared IP address”. This is because by default, all cPanel accounts on the server will use this “Main” IP address for their domain. To check if you have a dedicated IP, log in to your cPanel and look at the stats on the right-hand side. cPanel accounts can have a separate dedicated IP address assigned to them, apart from the main IP address (refer to the images below for clarification).
VPS and Dedicated servers come with additional free IPs, but only one dedicated IP is assigned by default due to the scarcity of IPs. This dedicated IP is shared among your services and cPanel accounts only.
To add or change an IP address on any InMotion Hosting server, you will need to request it. Depending on your plan, you may need to purchase the IP or have it assigned for free.
The following two sections explain how to purchase a dedicated IP or have one assigned. Please note that if the button for a dedicated IP is not present in AMP, you will need to request one via email ticket.
Purchasing a Dedicated IP Address
If you require a dedicated IP address and your plan does not have any free IP addresses included, you can purchase one from within your Account Management Panel (AMP). The following steps will explain how to purchase a dedicated IP address.
- Log into your AMP (Account Management Panel).
- Under your account name, click Purchase Dedicated IP.
- On the next page, select the domain name associated with your account from the drop-down.
- Next, select the associated username from the list.
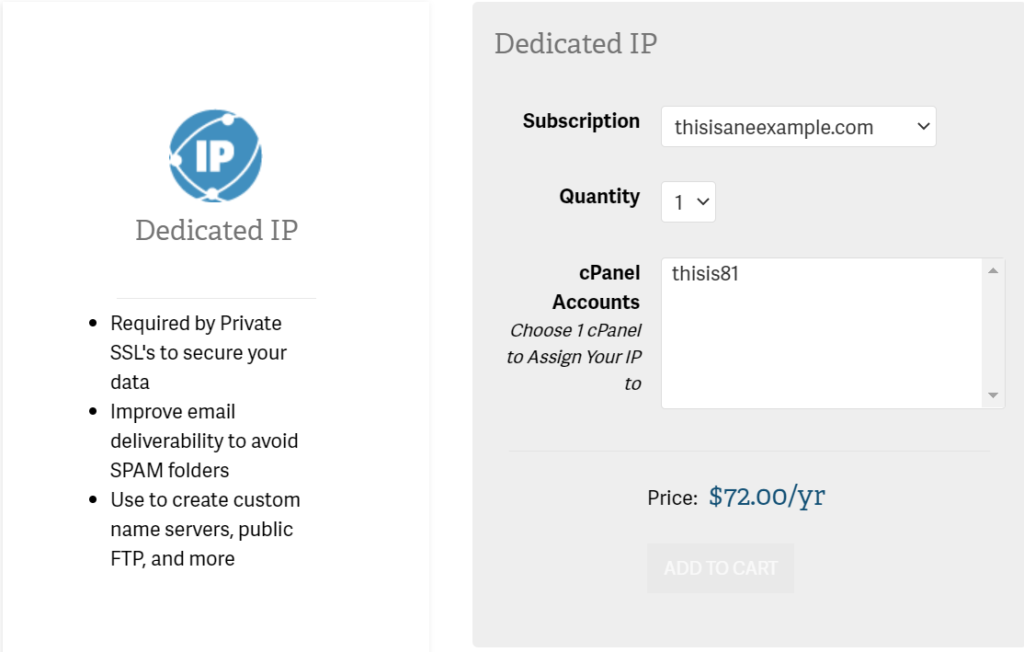
- Click Add to cart.
- Scroll down to read the disclaimer for the IP address assignment. Click Continue to Cart.
- On the next page, confirm your payment details and click Order.
After you order the dedicated IP address, you’ll get an email confirming your Dedicated IP was set up with the IP included in the email. Due to DNS Propagation, the new IP address can take up to 24 hours before it is fully activated.
Adding an IP Address Through AMP
If your hosting plan includes an IP address, you can request it from AMP.
- Log into AMP.
- Under your account name, click the Request Dedicated IP button.
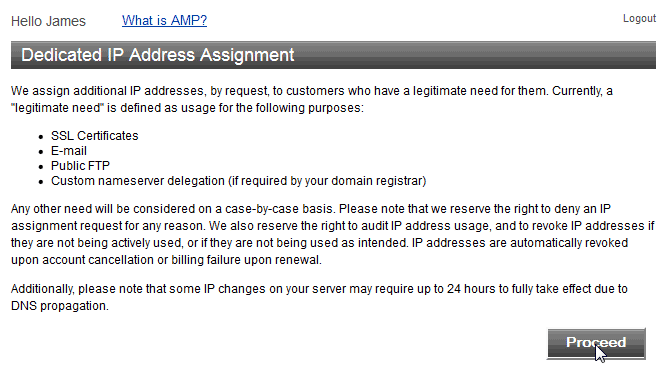
- Read the disclaimer for the IP address assignment. Click Proceed.
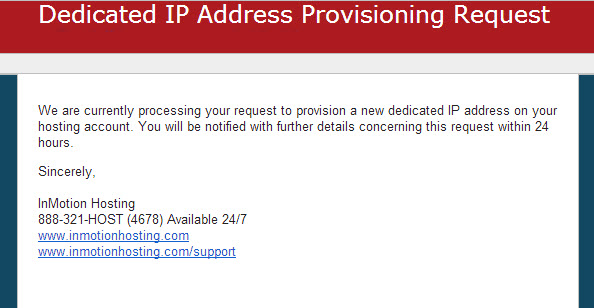
You will see a confirmation that the IP address was submitted.

After this, check the email address that you signed into AMP with. You will see an initial email explaining the request was submitted.
Shortly after you will get an email with your new IP address in the contents. Next, you will need to assign the IP address to the domain.

Assigning an IP in WHM (VPS, Reseller, and Dedicated)
- Log in to WHM.
- Type IP in the search to narrow the list of options on the left. Look for the IP Functions section and click Change a Site’s IP address.

- Select the domain from the list or type the domain you want the IP for. Click Change.
- From the New Address drop-down menu, select the IP address from the list.
- Click Change.